Pumping up your bike tires is a basic cycling skill – but if you’re new to bikes, it’s worth learning how to pump a bike tire properly.
If you’ve never needed to pump up a bike tire, don’t worry, as we’ll soon bring you up to speed and you’ll be ready to get back on your bike. The process of how to pump a bike tire is straightforward, but there are some essential steps you need to follow.
In this article, we’ll be covering:
- Bike Tire Valves
- The Steps Of How To Pump A Bike Tire
- Problems You May Encounter
Ready to get into the details on how to pump up a bike tire?
Let’s get started!
Bike Tire Valves
Before you can pump up your bike tire, you need to work out what type of valve your tire has.
Most modern bikes have one of two types of tire valves, Schrader or Presta.
Schrader valves are short and fat, similar to the type you find on car tires, and the Presta valve is long and thin. Therefore, which valve your bike has will dictate the type of pump you can use.
A Schrader valve needs a pump attachment with a wider opening. In comparison, a Presta valve requires a pump with a narrower opening. However, you can get an adapter that screws onto your Presta valve, allowing you to use a car pump.
The Steps Of How To Pump A Bike Tire
Step 1 – Remove The Dust Cap
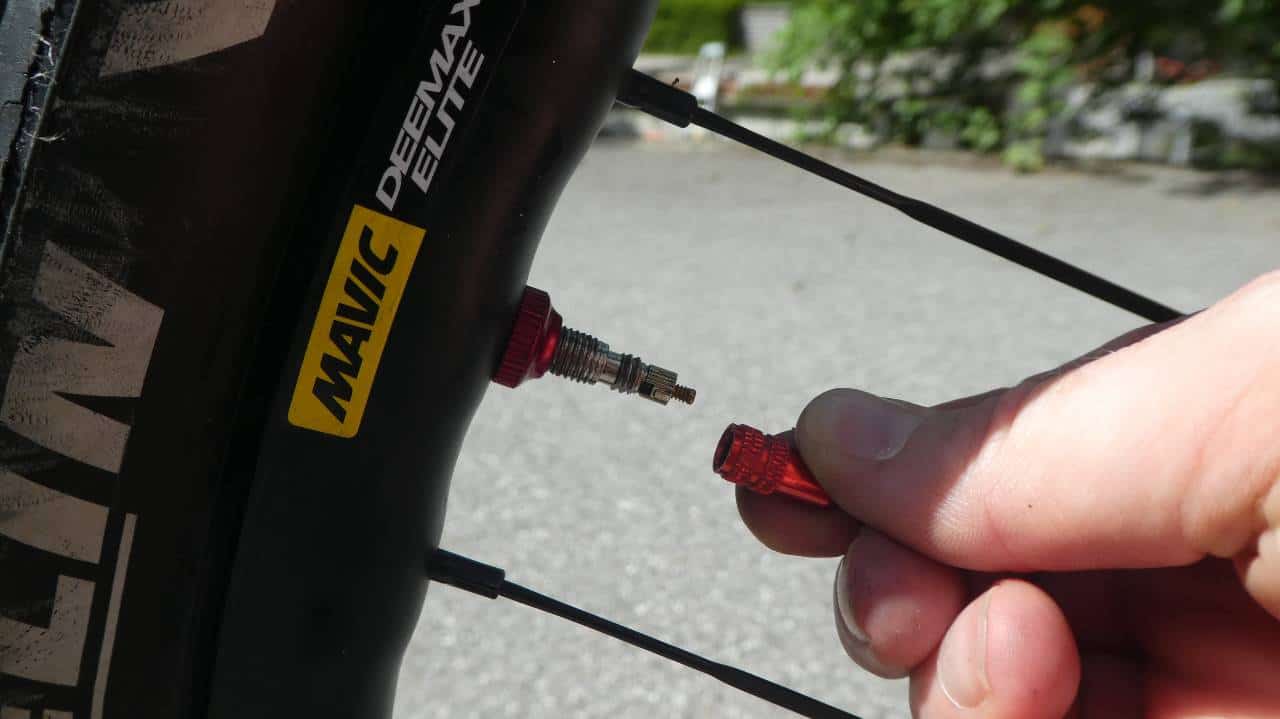
Before you can fit your pump to the valve, you’ll need to remove the dust cap. To do this, you simply unscrew it from the valve, but don’t worry; removing the dust cap won’t suddenly release a load of air from your tire. Put the dust cap somewhere safe, as it is easy to lose.
Step 2 – Unscrew The Valve
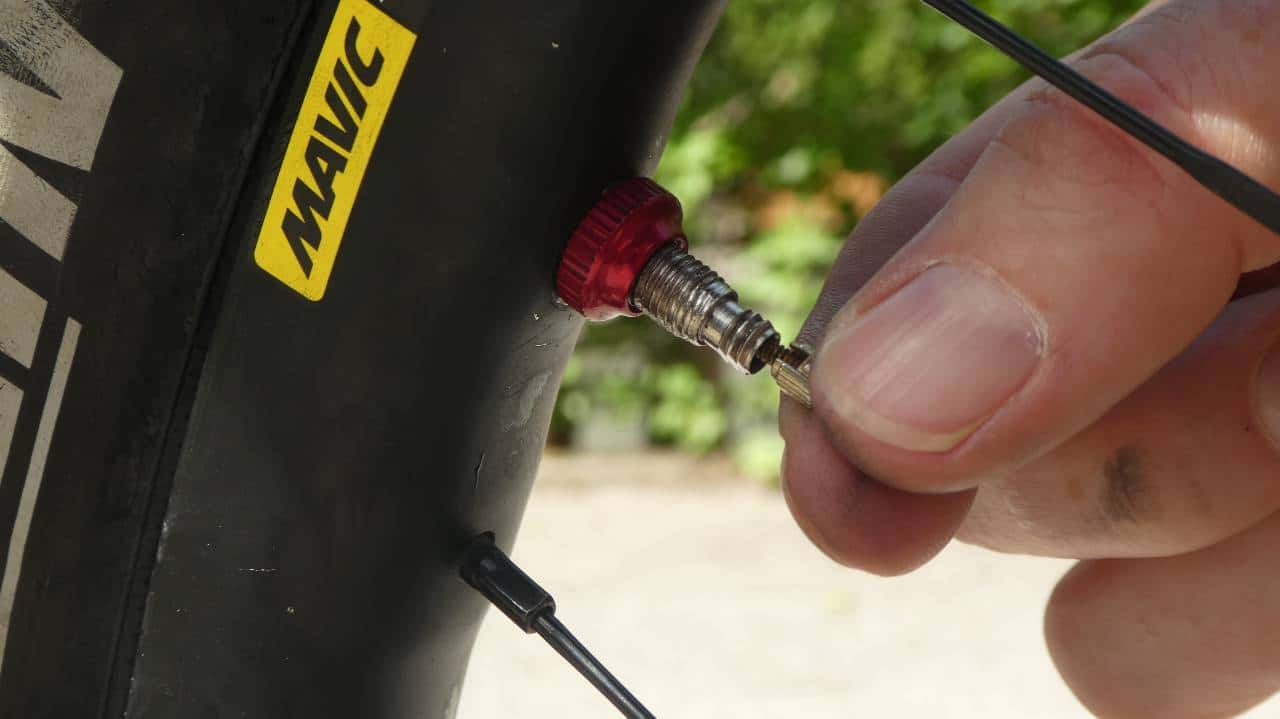
If your bike uses Presta valves, you need to unscrew the lock ring on the top. This is a tiny nut that you can unscrew with your fingers. It won’t come off completely, but unscrewing it will loosen it off so you can put air into your tire (you don’t need to do this if you have a Schrader valve).
To check if you’ve unscrewed the lock ring enough, press it in, and you should get a little blast of air if there is any left in your tire.
Step 3 – Attach Your Pump
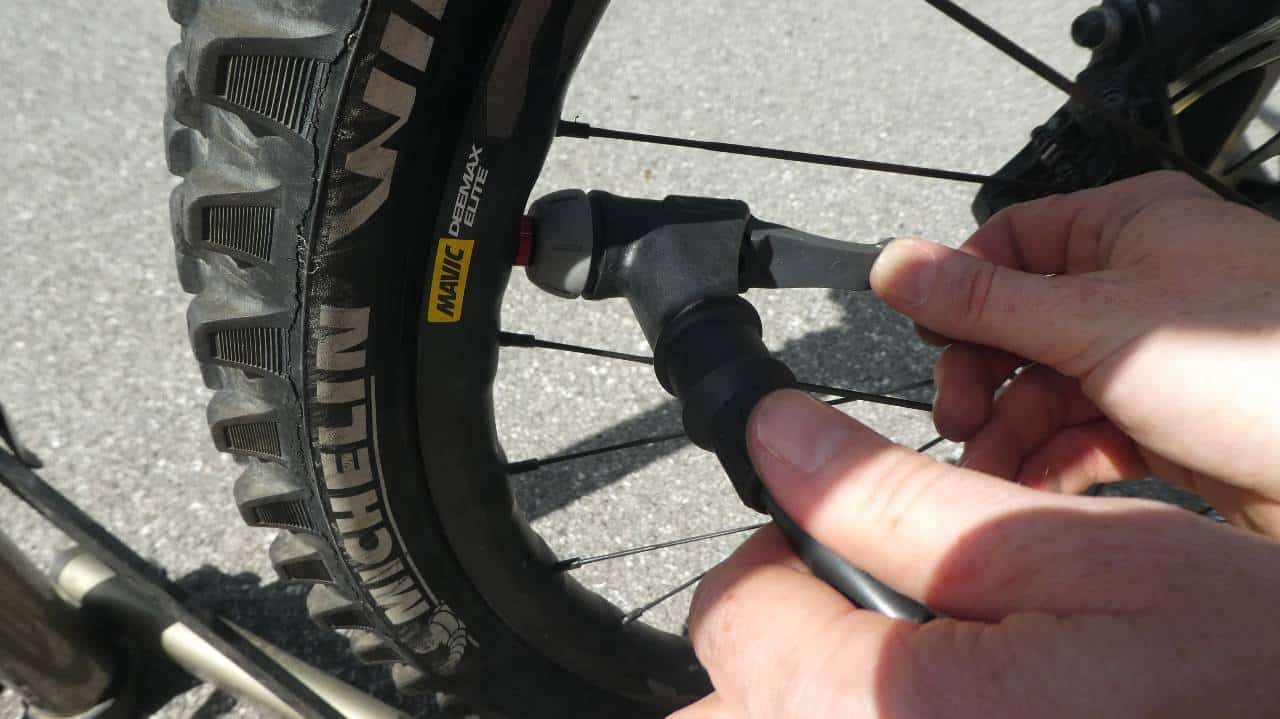
Now it’s time to attach the head of the pump to the valve. How you do this will depend on the type of pump you have. Some pumps screw onto the valve, while others clamp or press on over the top of it.
If you need to screw the pump attachment on, it will have an internal thread. If the attachment has a lever on it, you have to push it onto the valve and lock it on by flipping the lever.
Step 4 – How To Use A Bike Pump
Now the pump is attached to the tire valve, you’re good to start pumping.
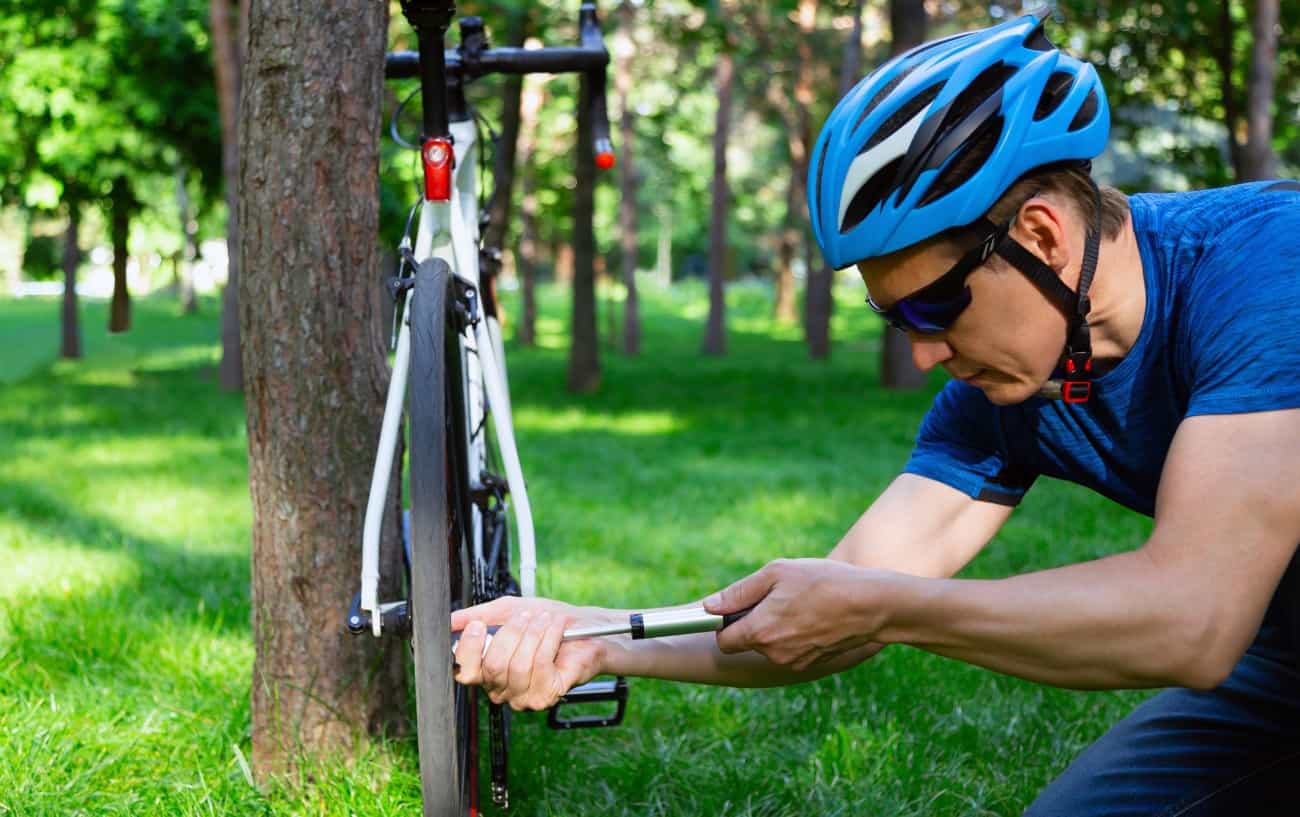
Again, how you do this will depend on the type of pump you have. You may be lucky enough to have a track pump. This type of pump has two feet that you stand on, and you repeatedly pull up on a plunger before forcing it down to inflate the tire.
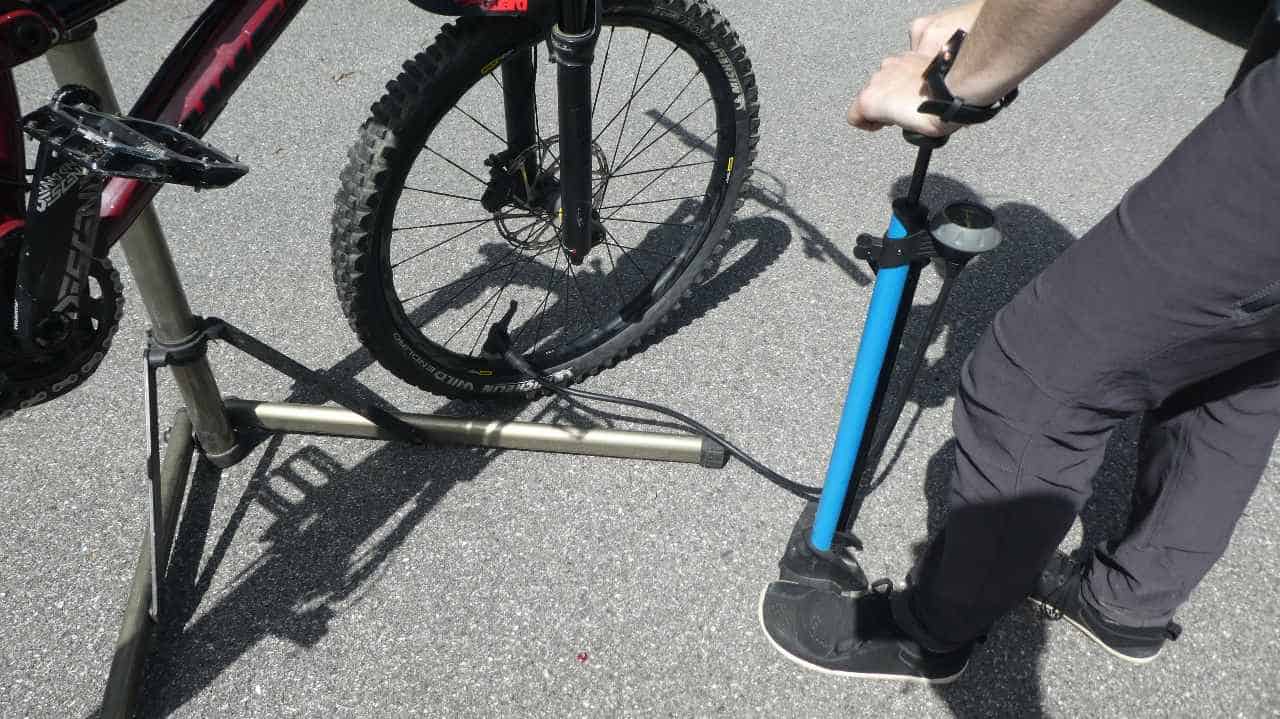
Track pumps are a quick and easy way to put air in bike tires as they force in lots of air with each pump. But, you may have a hand pump.
Hand pumps still do a great job of inflating your tires, but they require a little more effort, and it takes a bit longer to get to your desired tire pressure.
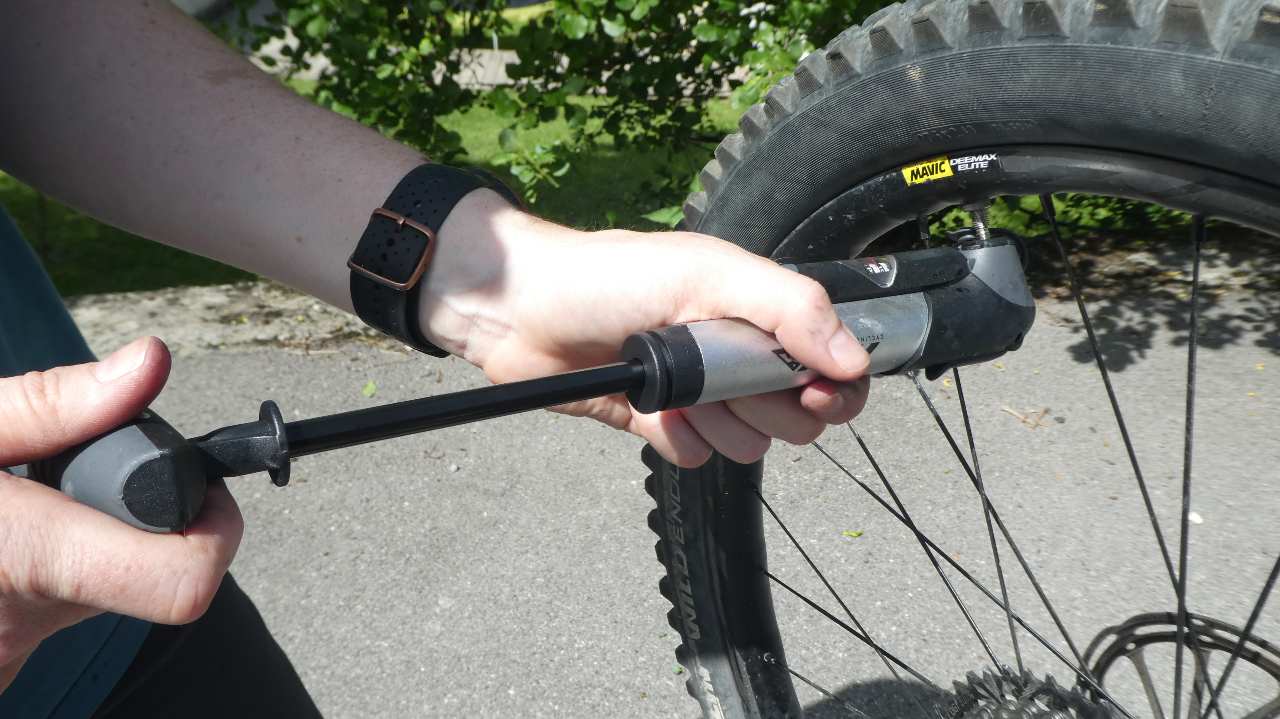
You can get small hand pumps that fit into your backpack or onto your bike. These are great for pumping up your tire when you get a puncture during a ride.
Step 5 – How To Pump A Bike Tire To The Correct Pressure
You need to know how to inflate bike tire to the perfect pressure. How much air you put into your tire depends on the type of tire you have.
Wider tires require less pressure than narrow ones. For example, a mountain bike may only need 25 to 28 psi, while a road bike tire needs 85 to 110 psi.
How much air you put in will also depend on your weight, the type of riding you do, and whether you have tubeless tires.
For more information, check out our Complete Guide to Tire Pressures here.
Bike tires usually have the maximum and minimum recommended tire pressures embossed on the side walls. So if you’re unsure, aim to get your pressures between these recommended figures.
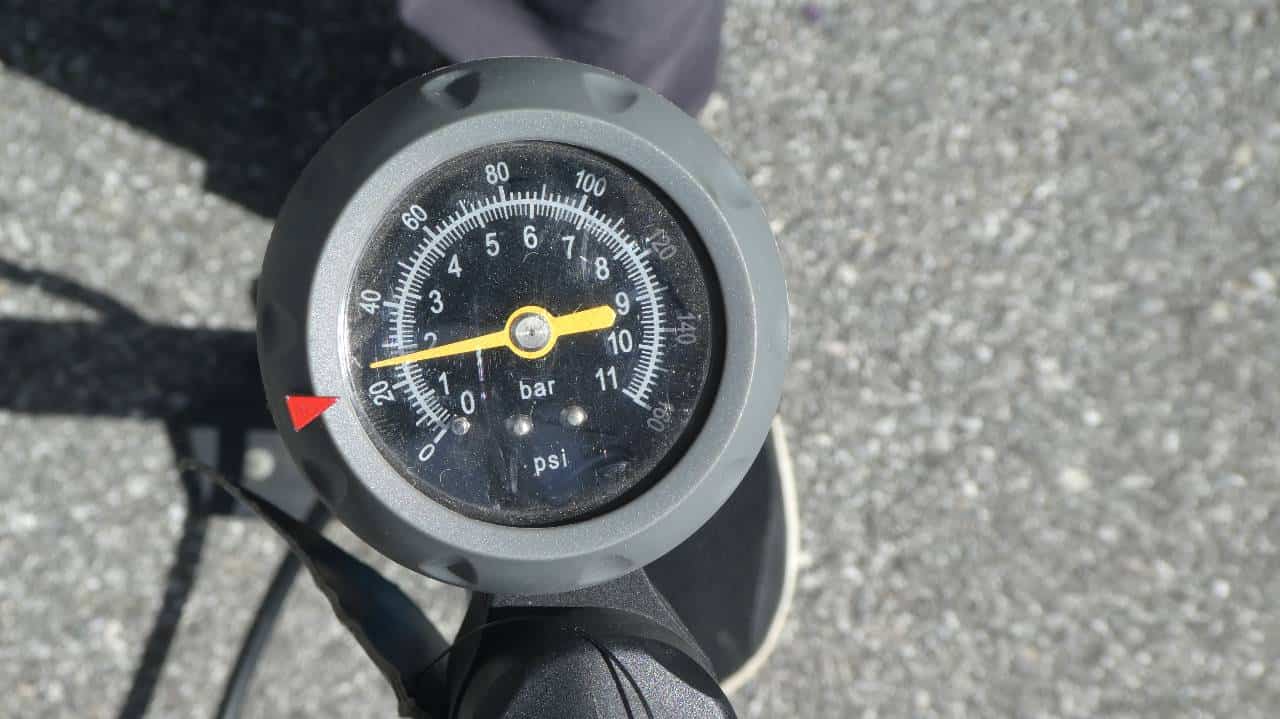
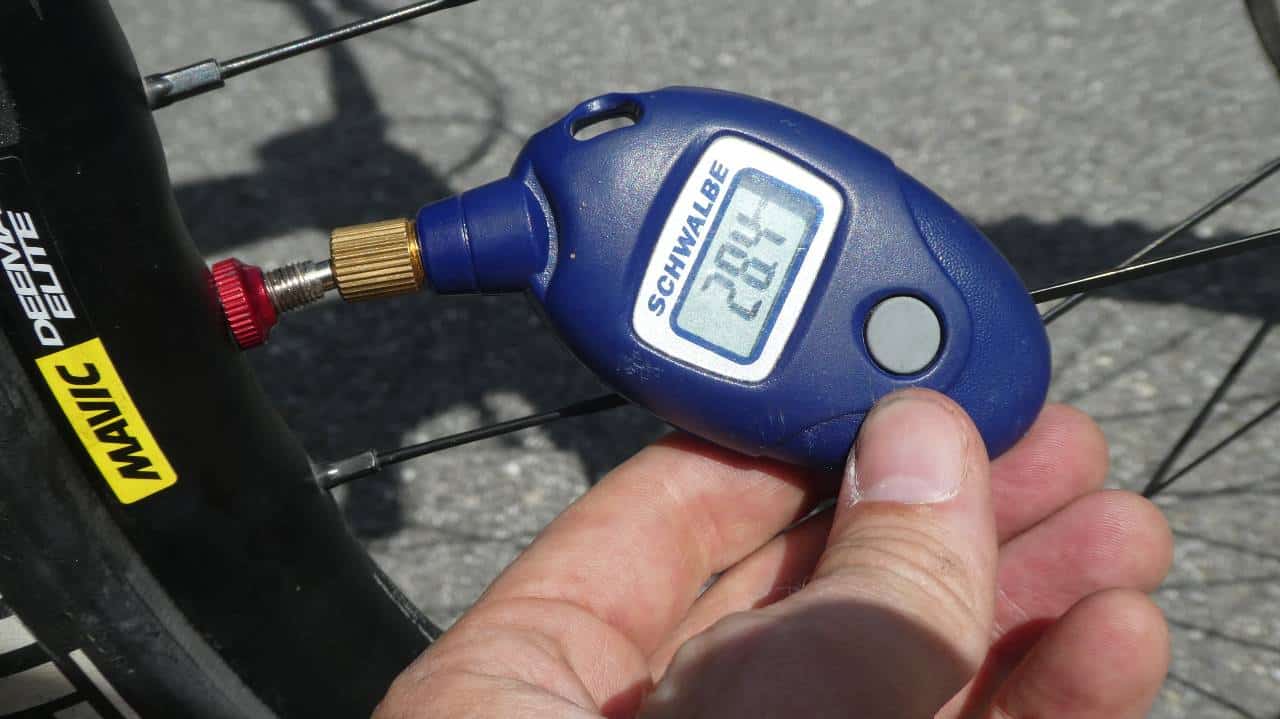
Some bike pumps have built-in pressure gauges, so you can just keep pumping until you reach the required pressure on the gauge. If your pump doesn’t have a gauge, you can buy a digital pressure gauge.
A digital pressure gauge simply fits over the valve to give you an accurate reading. You can even carry it with you when you want to experiment with different tire pressures.
Lower tire pressures make your tires a little more squishy. This gives you more grip but higher rolling resistance, so your wheels won’t roll as efficiently. Higher pressures firm up your tires, making them roll faster, but reducing your grip and making them more prone to punctures.
But what if you don’t have a pressure gauge? You can get a good idea of how to pump a bike tire sufficiently by squeezing the tire with your fingers and thumb.
If you can squish the sidewall on a road bike tire, this is a good sign that it is underinflated. On a mountain bike, you should be able to squeeze the sidewall with a little give, but it should still feel reasonably firm.
Step 6 – Screw In The Valve
Once you’re happy that you’ve pumped your tire up to the required pressure, you’ll need to remove the pump from the tire. You’ll hear a hiss of air coming from the valve as you do this.
The faster you remove the pump, the less air you’ll lose from the tire. You may have to put more air in to get the tire back to your required pressure if you’re too slow. This is more the case with a Schrader valve, as you need to unscrew the pump attachment.
With the pump removed from your Presta valve, it’s time to screw in the lock nut. It’s no big deal if you forget to do this, as air will only escape when the top of the valve is pressed. But, it’s best to make sure that you’ve screwed it in.
Now you’ve screwed in the valve, refit the dust cap and go for a ride!
Problems You May Encounter
Even though the process of how to pump a bike tire is pretty simple, there are a few things that may prevent it from going smoothly.
Your Tire Doesn’t Inflate
If your tire doesn’t inflate after spending some time pumping, one of two things could’ve happened.
The first thing is that you may not have attached your pump correctly. This will cause air to escape with each pump, as there is no seal between the valve and pump. So, remove and reattach the pump to ensure it is on correctly.
The other problem is that you may have a puncture. In this case, you’ll need to change your inner tube.
You Cannot Operate The Pump
After attaching the pump to the valve, you may feel so much resistance in the pump that you cannot move it. There are a couple of reasons why this might happen, but they’re easy to remedy.
One reason is that you may have forgotten to unscrew the lock nut on the valve or not unscrewed it enough. Therefore, you’ll need to remove the pump and unscrew it fully so the pump can inflate your tire. Press the valve a couple of times to ensure that it is loose enough.
Alternatively, you may not have attached the pump to the valve correctly. You’ll only know if this is the case by removing it from the valve and reattaching it.

Now You Know How To Pump A Bike Tire…
Cyclists need to know how to put air in bike tires. This simple process will enable you to keep riding, get home safely, or just go for a ride.
By following the steps above, you’ll know how to use a bike pump and how to pump up a bike tire to the optimum pressure!


